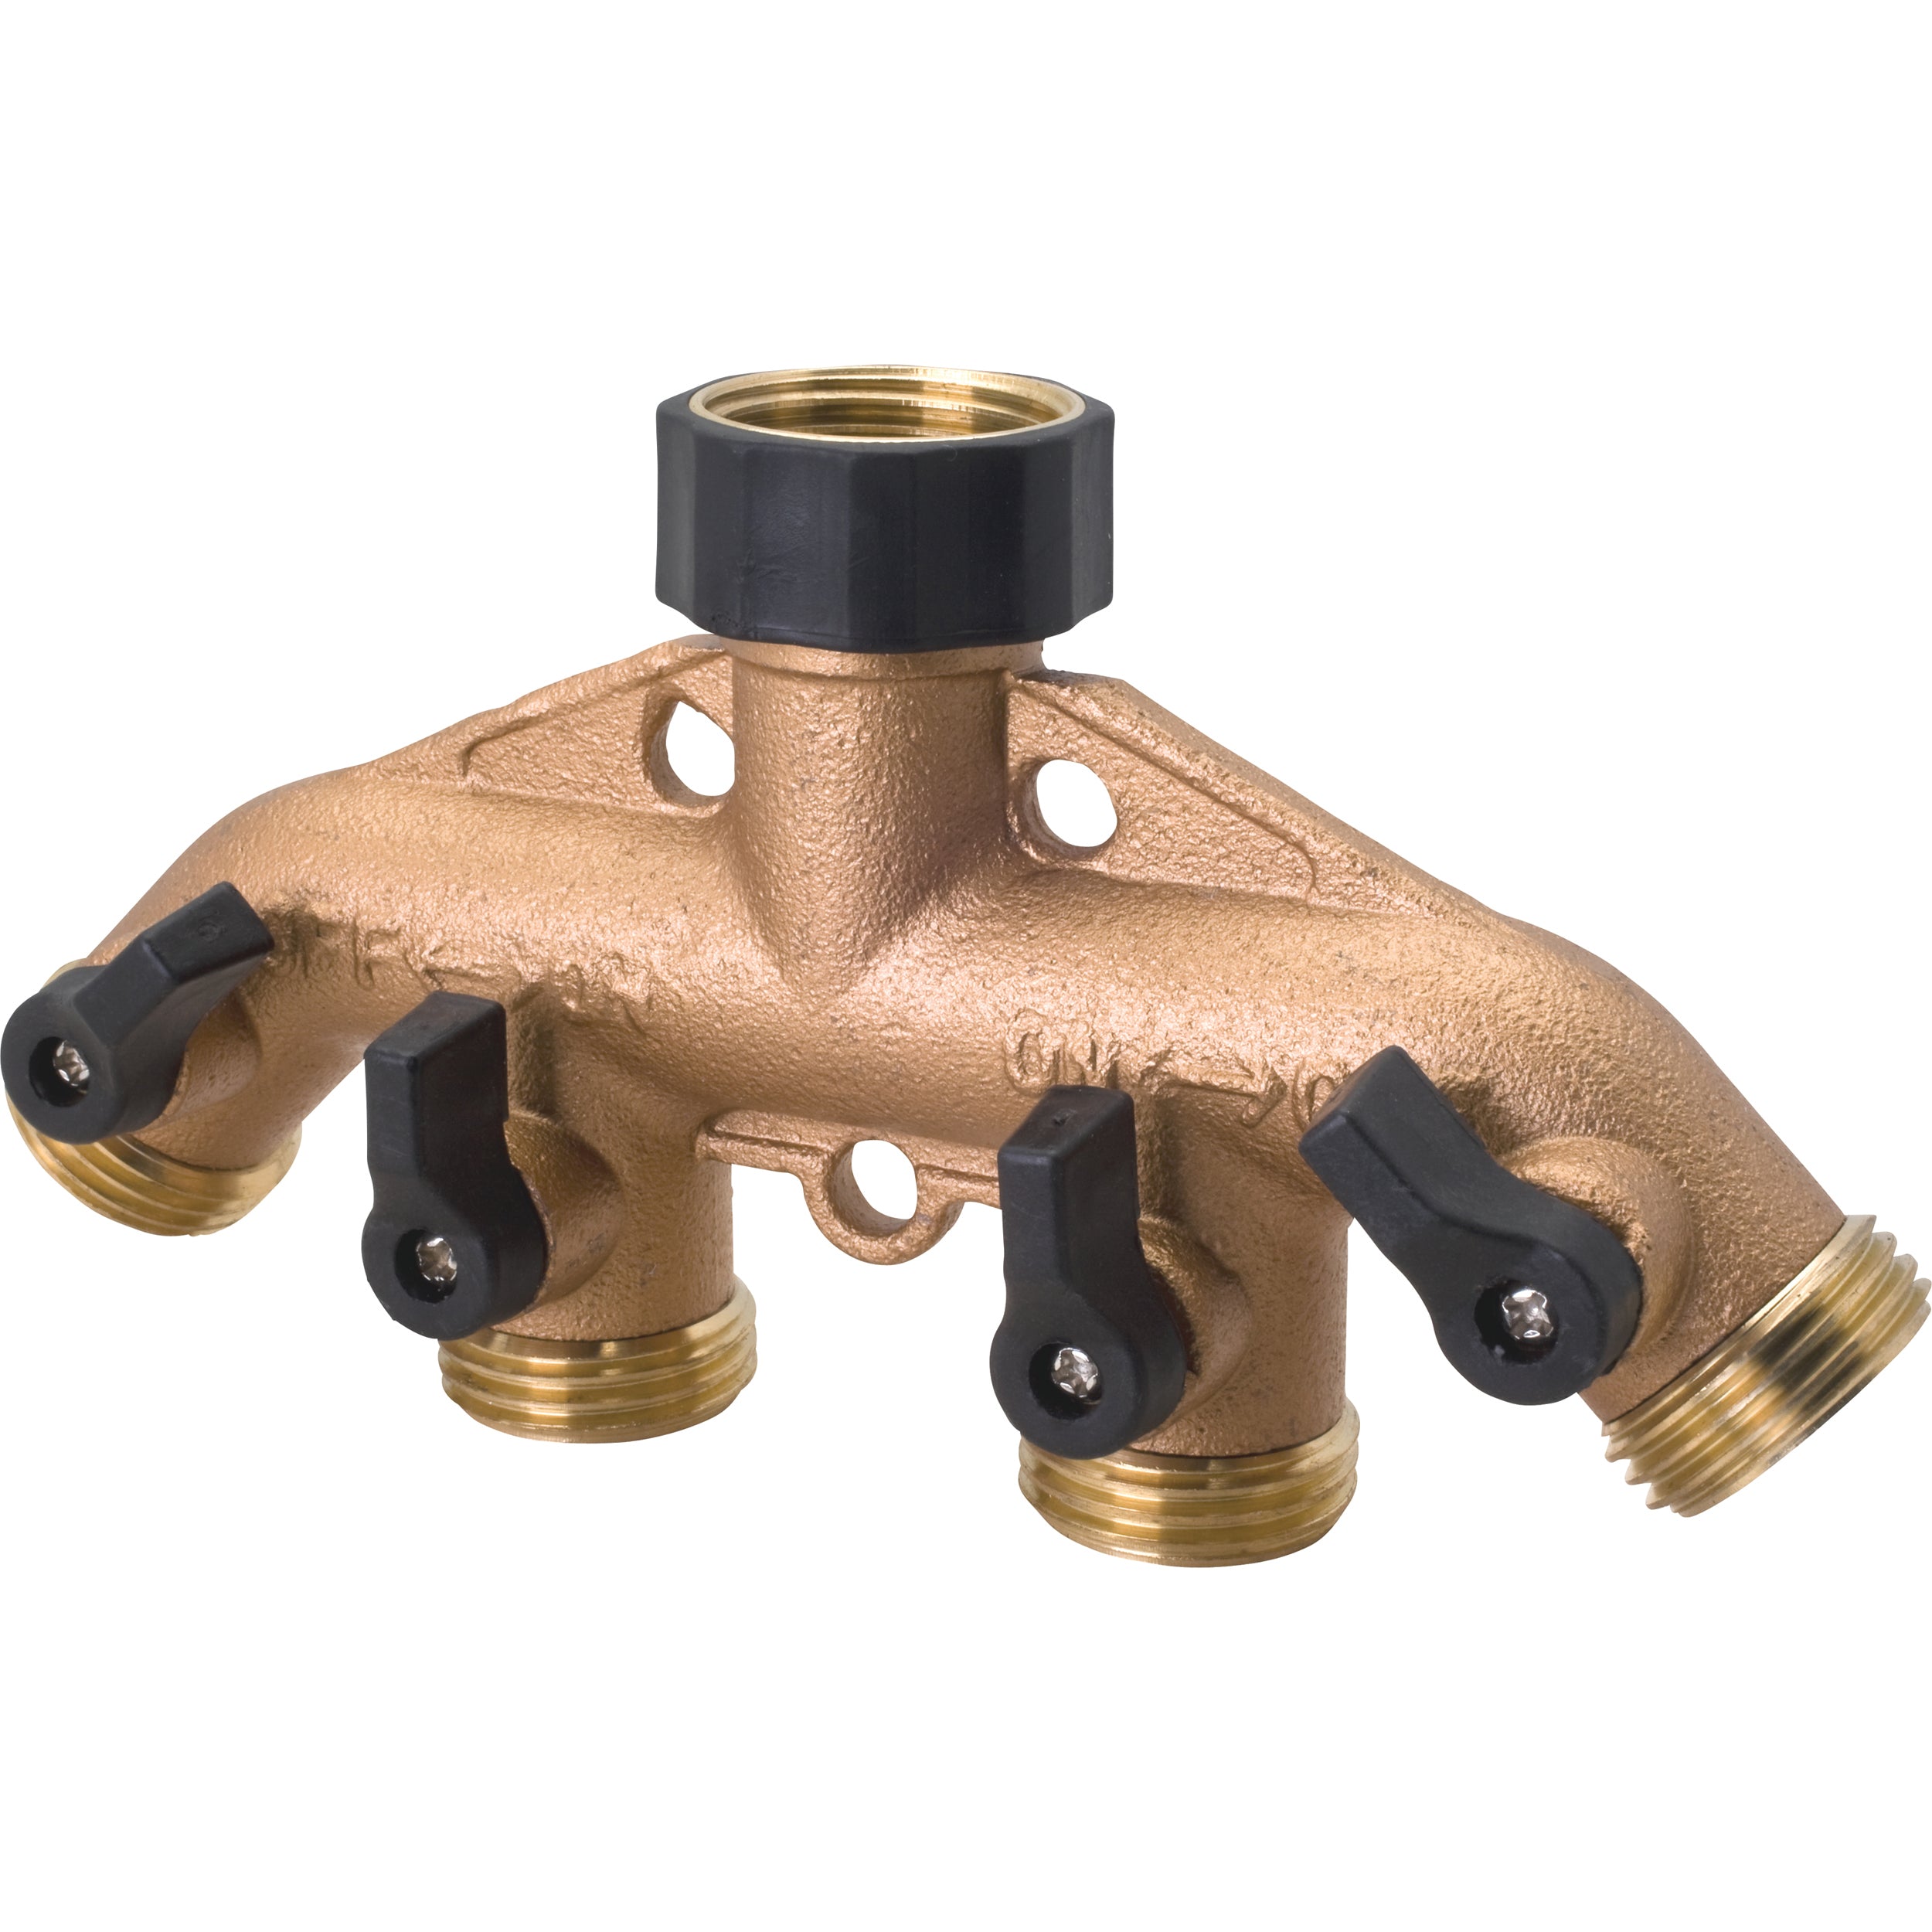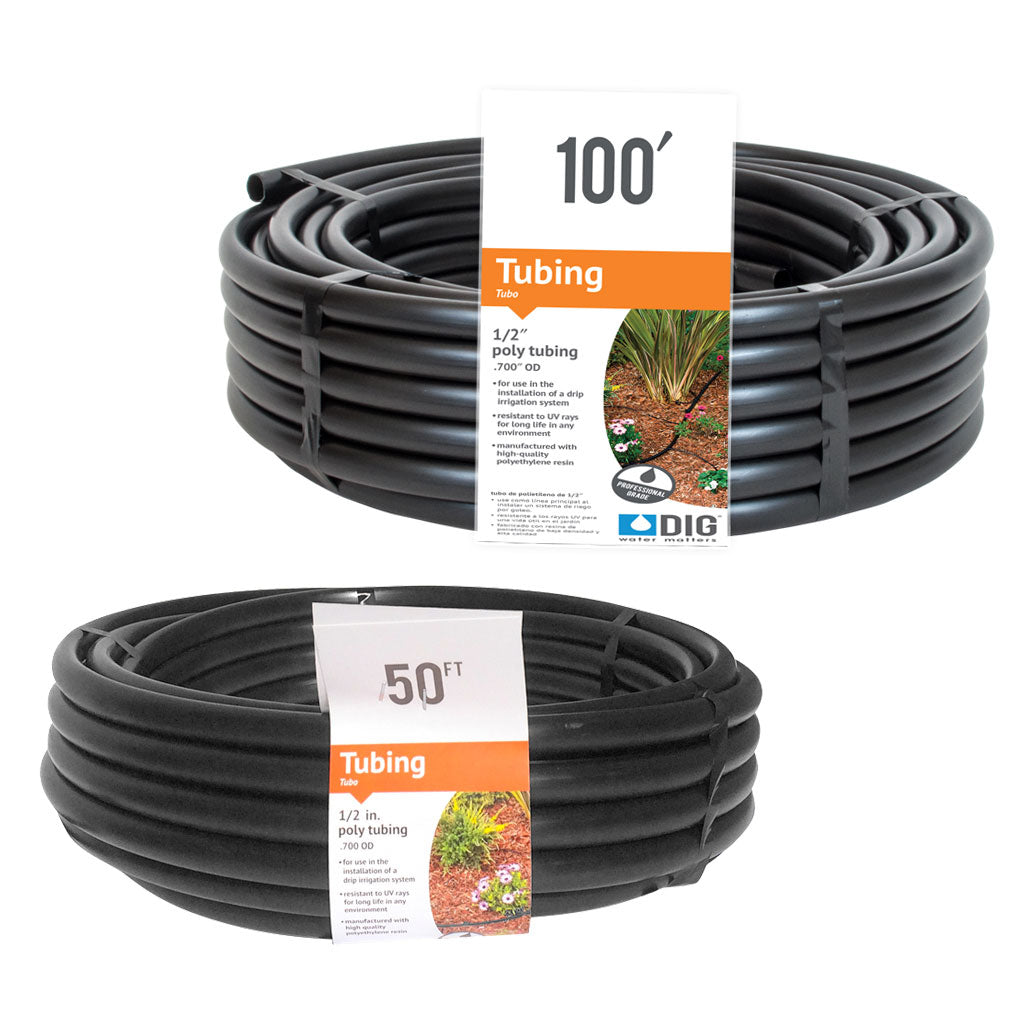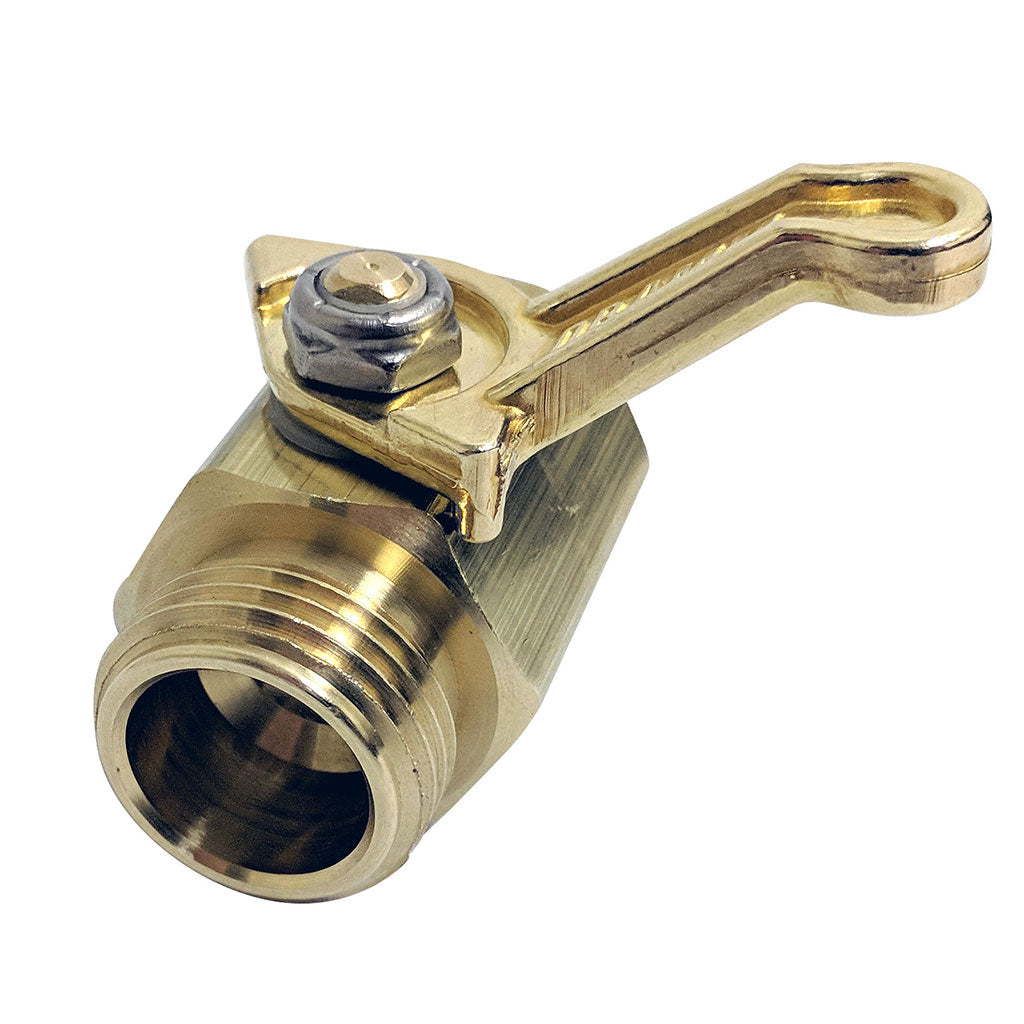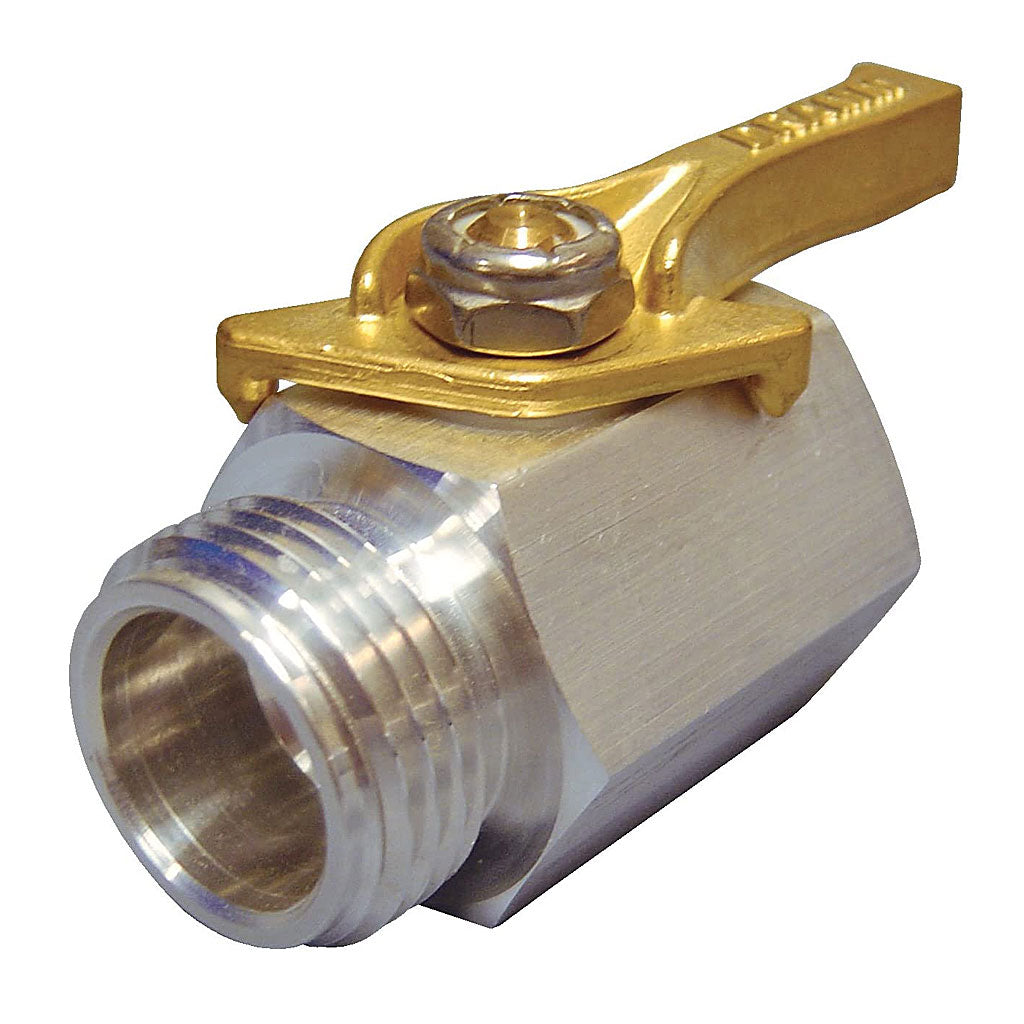
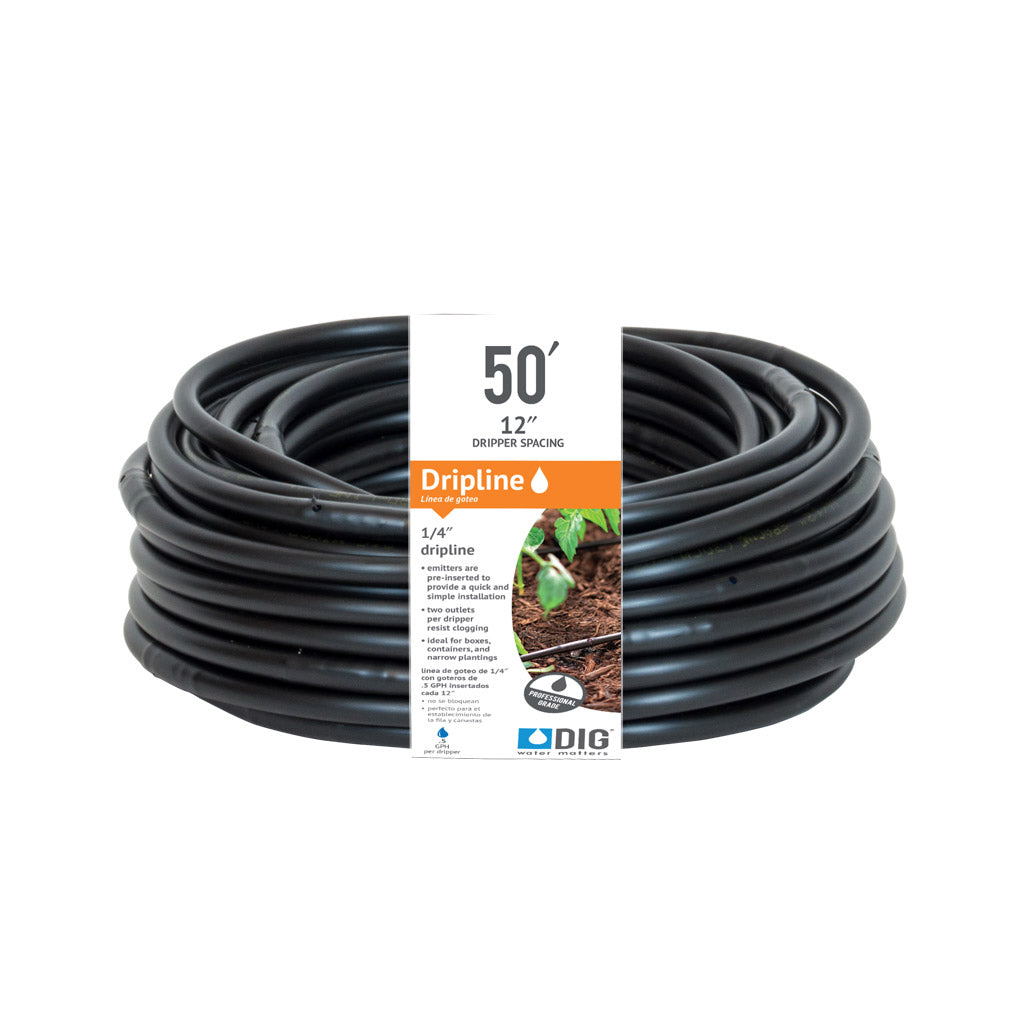
Extremely versatile and flexible, DIG’s 1/4″ Microline Dripline presents key advantages over other irrigation methods, utilizing low-cost, small-diameter dripline that can be used in any part of the garden for a water-efficient drip irrigation system. The dripline’s cylindrical labyrinth drip emitters are inserted into the interior wall of the 1/4″ micro tubing every 12″ spacing. It can be installed in a wide range of above-ground application layouts, or used under mulch or bark to conserve water or for aesthetic reasons. The dripline is designed to be extended from the drip tubing or micro tubing using a 1/4″ barb, or attached into our four- or six-outlet drip manifolds. It can be used in planter boxes, vegetable gardens, window boxes, bogardens, looped around individual plants or trees, in narrow paths of planting areas or where total saturation is desired along the drip line path, while eliminating discoloration of fences, windows and walls due to water staining.FeaturesUse for planter boxes, window boxes, closely planted or narrow areas, vegetable gardens, gravity feed systems, green roofs or loop around roses, shrubs and treesConnected into any drip system’s drip tubing with 1/4″ barbed fittingsEach drip emitter has two outlets for less chance of pluggingUse for commercial and residential applicationsAllows water to drip directly to the root zone, delivering a constant deep wateringNo special tools or glue are neededCan be used in both new and existing landscape areasAvailable in 50′ with 12″ spacingSaves money by significantly lowering the cost of system components compared to conventional irrigation systemsContains UV inhibitors for long life and extended operation in harsh conditionsDIG’s drip irrigation products may be exempt from residential and commercial watering restrictions (check local codes)SpecificationsOperating pressure range: 10 to 25 PSI Recommended operating pressure: 20 to 25 PSI (use 25-PSI pressure regulator) Flow rate: .65 GPH @ 25 PSIDrip emitter spacing: 12″Drip line size: 50′, 100′ or 500′ with .170 ID .250 ODBending radius: minimum 1′Two (2) outlets per each drip emitterColor: black or brownFilter requirement: minimum of 150 meshMaterial: drip tubing u0026amp; drip emitters: polyethyleneDrip Emitter Flow vs. Pressure PRESSURE (PSI)FLOW (GPH)PRESSURE(BAR)FLOW (L/H) 100.420.71.6 150.521.02.0 200.581.42.2 250.651.72.5 How to UseInstallation suggestions:Basic installation recommendations for this product include first reviewing the area and then making a drawing of the garden or site with your preferred layout. If automation is required, use one of DIG’s hose end timers or battery operated controllers. The ideal controller should have flexible scheduling and two to four start times per day for added flexibility.Start the installation from a PVC pipe or to pipe threadIf the drip system installation is started from a PVC pipe, first shut off the main water supply.If an automated system is preferred, we recommend installing a 3/4″ ball valve or gate valve before the battery operated controller or AC valve, if used. This ball valve can be very useful as an emergency backup to turn the system off. This type of arrangement is used by professional installers.Turn the water supply on to flush the line and then shut the water supply off using the new ball or gate valve.Install an AC valve or battery operated controller, wrapping TEFLON tape on all the male thread fittings used.Turn the water supply on again to pressurize the system. The unit will open momentarily and then will shut off.Test the valve or the battery operated controller and make sure that valve or battery operated controller is working correctly. If using a battery operated controller, then program the controller.After the AC valve or battery operated controller, add a 3/4″ screen filter with 155-mesh. The screen filter is used to protect the drip system. Next, add a preset 25 PSI pressure regulator or adjustable pressure regulator. The pressure regulator is used to lower the pressure to the suggested operating pressure for a drip system. Follow with a 3/4″ swivel adapter to the drip tubing or 3/4″ PVC thread slip adapter to the PVC line.Start the installation from a faucet or hose threadIf an automated system is preferred, install a hose end timer.Test the hose end timer and make sure that is working correctly, then program it. To the hose end timer, add a backflow device (model D45), then a 25 PSI pressure regulator and then a 3/4″ swivel adapter with screen. If water quality is a concern, we highly recommend using DIG’s fine mesh 3/4″ filter with 155-mesh.Drip line installationUse the 1/2″ drip tubing as the main lateral and lay out the drip tubing per your drawing, securing the drip tubing using the stakes. Use the stake holders to secure the drip tubing or drip line to the ground in key areas and add more stakes as you unroll the drip tubing. Add stakes every 10′ – 20′ and at the end of each section, or as needed.Throughout the installation add 1/2″ fittings, if needed, such as tees and elbows per your drawing layout, leaving the end of the drip tubing open. To install the 1/2″ drip fittings, cut the drip tubing with a hand pruner, being careful to keep dirt from entering the line. Hold the fitting in one hand and the drip tubing or microline dripline in the other and force the drip tubing or dripline into the fitting by wiggling it from side to side.Use the 1/2″ drip tubing as the main lateral and connect the 1/4″ microline dripline to the 1/2″ drip tubing per your layout configuration. To connect the 1/4″ drip line into the 1/2? drip tubing, punch a hole into the 1/2″ drip tubing, snap the barbed fitting into the hole and push the end of the microline dripline over the other side of the barb. The 1/4″ fittings are available in barbed connectors, tees or elbows to meet the varying requirements of the installation and layout of the micro tubing and 1/4″ microline dripline.Lay the drip line along the planting area or loop the drip line around a tree and secure it to the ground using the stakes.Turn the water on and flush the line.Close the end of the drip tubing using the hose end or figure “8” and then close the end of the 1/4″ microline dripline with the large size of the plug.Pressure-test the system to identify leaks in the drip tubing laterals, fittings and microline dripline and then program the hose end timer or battery operated controller.About the soil and suggested watering intervals: Sandy soil or light textured soil: Water percolates straight through before it can spread far enough horizontally, so apply water at close intervals such as every other day for 20 to 90 minutes depending on plant size and type, daylight conditions (full sun, partial sun or shaded), and weather pattern (cold to hot) with the plants under full sun in hot conditions getting the longer period. Loamy soil or medium textured soil: This is the ideal soil condition with water moving slowly and spreading evenly, so apply water at wider intervals such as every two to four days for 15 to 90 minutes depending on plant size, type, daylight conditions (full sun, partial sun or shaded), and weather pattern (cold to hot) with the plants under full sun in hot conditions getting the longer period. Clay soil or heavy textured soil: Water is absorbed very slowly, so apply water at longer intervals such as every three to five days for 30 to 60 minutes depending on flow rate, plant size and type, daylight conditions (full sun, partial sun or shaded), and weather pattern (cold to hot) with the plants under full sun in hot condition getting the longer period.
Hotline: +855 81 55 00 58